1. Installation
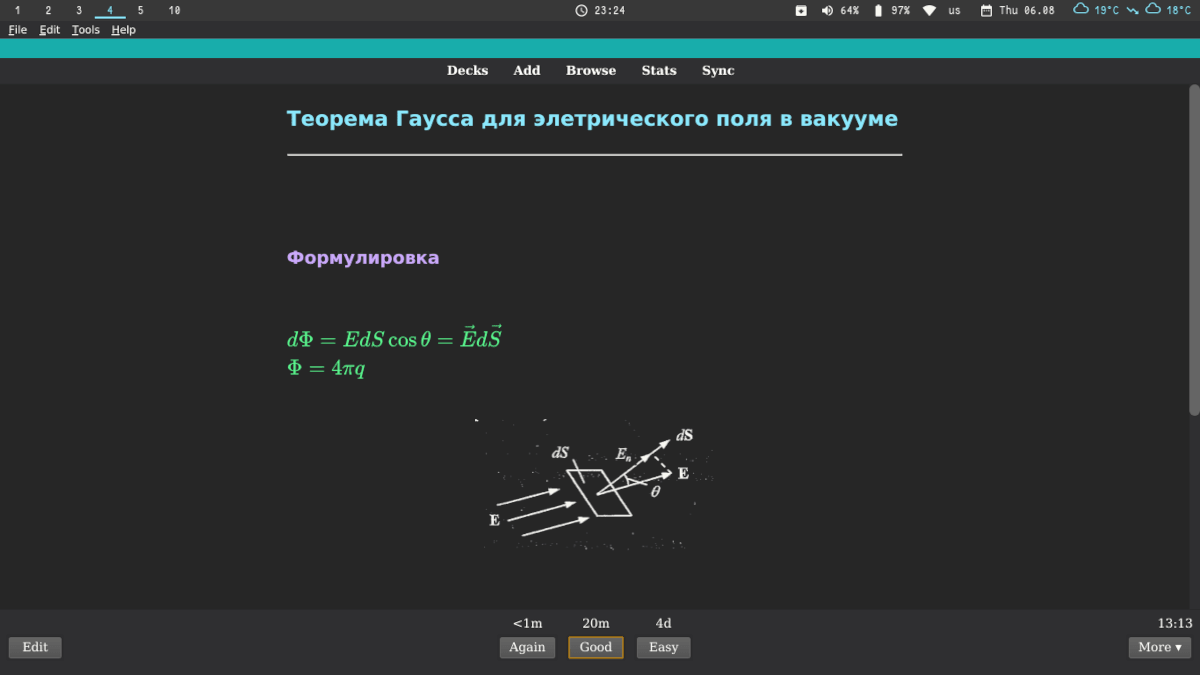
I made a fork of the project MFreidank/AnkiVim, where I basically added my own snippets and changed the card template to cloze-deletion.
If you are running linux, you can install it by running these commands from your terminal: (Make sure you have python installed).
git clone https://github.com/sofiabelen/AnkiVim.git
cd AnkiVim
pip -e .
2. Getting started
To run anki-vim, just type this in your terminal, adding the path where you want to save your cards and replacing DECKNAME with the name of your deck.
anki-vim DECKNAME --deckpath PATH/TO/SAVE/YOUR/DECK
You should see this:
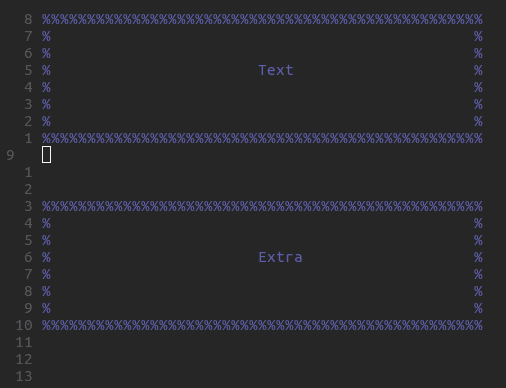
You are now ready to start writing the content of your card! To save and finish editing the current card press :x or :wq. Keep adding as many cards as you want, and when you're done, leave the card blank and press :q to exit.
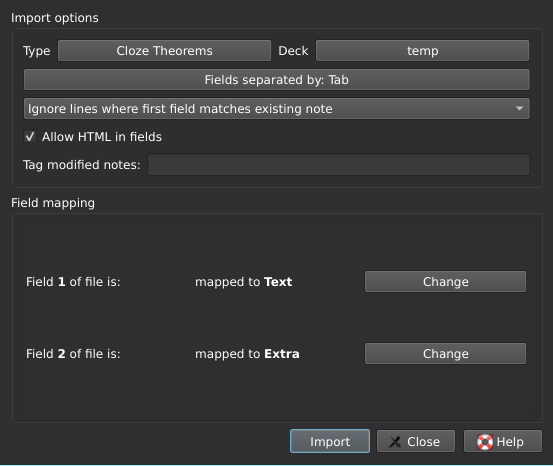
Import to anki by selecting a deck and clicking on Import File, on the bottom of the screen. Select the 'raw_cards.txt' file saved in the path that you chose earlier. Check the box Allow HTML in field and choose the option Fields separated by: Tab. Click Import, and you should now have your new cards in your deck!
3. UltiSnips
UltiSnips is a vim plug-in that allows to create snippets. Check out UltiSnips to get started. If you haven't tried it out yet, I highly recommend you do. It's super easy to use and you'll be saving lots of time, especially for typing latex.
If you are like me and are constantly adding new snippets or changing them, you might want to create a symlink to wherever you store your snippets instead of having them in the AnkiVim directory. It is basically a shortcut to your UltiSnips directory.
cd AnkiVim/ankivim
rm -r UltiSnips
ln -s ~/UltiSnips
The commands above remove the UltiSnips directory, and creates a symbolic link to where you have your own snippets live. Change the last directory to wherever you store them.
4. Images
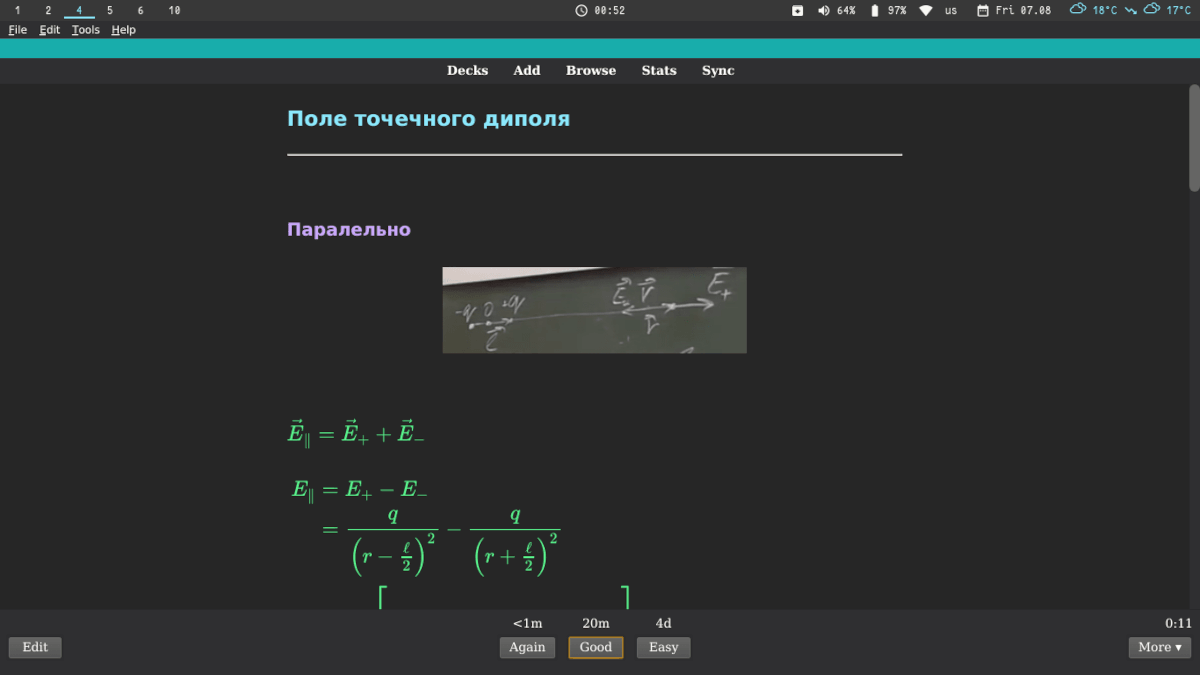
Adding images is pretty straight forward. You have to save the image to .local/share/Anki2/User\ 1/collection.media/, and then insert it with an html tag.
<img src = "IMAGENAME.png" />
It is usually necessary to take screenshot of your textbook or video lecture or wherever you are studying from to add to a card. Taking a screenshot, cropping it, and adding to anki takes a lot of time. So we want to optimize this process.
This bash script allows us to do just that. You can copy it where you store your scripts, save it, and don't forget to chmod +x it. Make sure it is in your PATH. To read up on how to do all of this, maybe check out this link.
#!/bin/bash

dir=".local/share/Anki2/User\ 1/collection.media/"
name=$(date --iso-8601='seconds' | sed 's/://g').png

scrot -s "$dir$name" && echo $name | tr -d '\n' | xclip -selection clipboard
You need to have scrot and xclip installed. It lets you select a part of the screen to capture, saves the image in the anki collection, and then puts the image name in your clipboard.
It's convenient to bind it to some key, for example Shift+Print. For example, if you use i3-wm, just add this line to your config file:
bindsym --release Shift+Print exec anki-screenshot
Once you are inside the anki-vim editor, to add an image, there are two snippets that come in handy:
-
by itself: write 'img' at the beginning of line to trigger.
-
inside cloze: write 'ci' at the beginning of line to trigger.
Now you can easily paste the image name from your clipboard inside the quotation marks, and you're done!
5. Mathjax and CSS
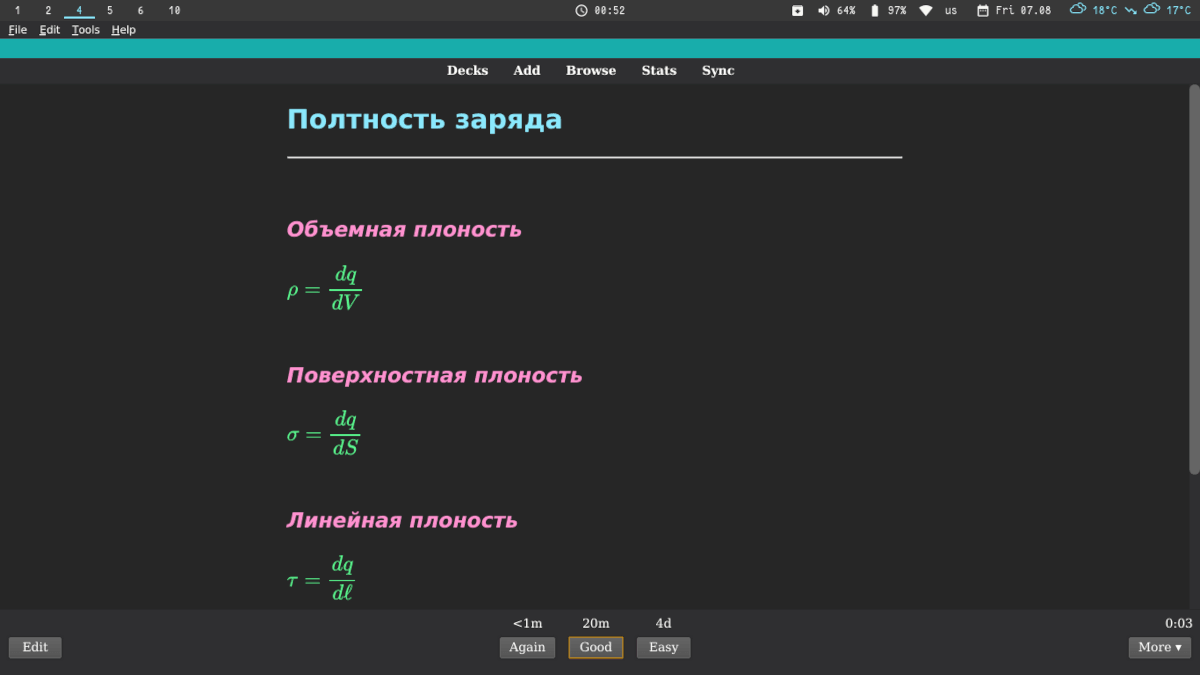
I use the Dracula color scheme. Go to Add, Cards, and copy+paste the code bellow on 'Front template', 'Styling', and 'Back template' for using mathjax and styling. Feel free to experiment and customize the css in the 'Styling' section to achieve your desired look.
<div id="kard">

</div>
</br>
<div id="hint"></div>
</br>
<div id="kard">

</div>

<script type="text/x-mathjax-config">
MathJax.Hub.processSectionDelay = 0;
MathJax.Hub.Config({
  messageStyle: 'none',
  showProcessingMessages: true,
  tex2jax: {
    inlineMath: [['$', '$']],
    displayMath: [['$$', '$$']],
    processEscapes: true
  }
});
</script>
<script type="text/javascript">
(function() {
  if (window.MathJax != null) {
    var card = document.querySelector('.card');
    MathJax.Hub.Queue(['Typeset', MathJax.Hub, card]);
    return;
  }
  var script = document.createElement('script');
  script.type = 'text/javascript';
  script.src = 'https://cdnjs.cloudflare.com/ajax/libs/mathjax/2.7.1/MathJax.js?config=TeX-MML-AM_SVG';
  document.body.appendChild(script);
})();
</script>
html { overflow: scroll; overflow-x: hidden; }
/* CONTAINER FOR YOUR CARDS */
#kard {
    padding: 0px 0px;
    max-width: 700px; /* CHANGE CARD SIZE HERE */
    margin: 0 auto; /*CENTERS THE CARD IN THE MIDDLE OF THE WINDOW */
}

/* APPLIES TO THE WHOLE CARD */
.card, .card.nightMode {
    font-family: Menlo, baskerville, sans;
    font-size: 20px; /* FONT SIZE */
    text-align: left; /* ALIGN TEXT */
    color: #F8F8F2; /* FONT COLOR */
    line-height: 1.6em;
    background-color: #262626; /* BACKGROUND COLOR */
}

/* STYLE TAGS TO APPEAR WHEN HOVERING OVER TOP OF CARD */
.tags {
    color: #A6ABB9;
    opacity: 0;
    font-size: 10px;
    width: 100%;
    text-align: center;
    text-transform: uppercase;
    position: fixed;
    padding: 0;
    top:0;
    right: 0;}
.tags:hover { opacity: 1; position: fixed;}

/* STYLE FOR CLOZE DELETIONS */
    .night_mode .cloze, .cloze b, .cloze u, .cloze i {
    font-family: Menlo, baskerville, sans;
    font-size: 20px; /* FONT SIZE */
    line-height: 1.6em;
    color: #5AF78E !important;
}

.cloze, .cloze b, .cloze u, .cloze i {
    font-family: Menlo, baskerville, sans;
    font-size: 20px; /* FONT SIZE */
    line-height: 1.6em;
    color: #5AF78E !important;
}

/* IMAGE STYLE */
img { display: block; max-width: 100%; max-height: none; margin-left: auto; margin: 10px auto 10px auto;}
tr {font-size: 12px; }

/* COLOR ACCENTS FOR BOLD-ITALICS-UNDERLINE */
/* BOLD STYLE */
b { color: #8BE9FD; }
/* UNDERLINE STYLE */
u { text-decoration: none; color: #CAA9FA;}
/* ITALICS STYLE */
i  { color: #FF92D0; }
a { color: LightGray !important; text-decoration: none; font-size: 10px; font-style: normal; } /* LINK STYLE */

ol {list-style: none; counter-reset: li}

li::before {content: counter(li); color: #F1FA8C;
  display: inline-block; width: 1em;
  margin-left: -1em}

li {counter-increment: li}

h2 { color: #8BE9FD; }

h3 { color: #FF79C6; }

h4 { color: #FF6E67; }

h5 { color: #BD93F9; }

ul {
  list-style: none; /* Remove default bullets */
}

ul li::before {
  content: "\2022";  /* Add content: \2022 is the CSS Code/unicode for a bullet */
  color: #F1FA8C; /* Change the color */
  font-weight: bold; /* If you want it to be bold */
  display: inline-block; /* Needed to add space between the bullet and the text */
  width: 1em; /* Also needed for space (tweak if needed) */
  margin-left: -1em; /* Also needed for space (tweak if needed) */
}

/* ADJUSTMENT FOR MOBILE DEVICES */
.mobile .card { color: #F8F8F2; background-color: #262626; }
.mobile .tags:hover { opacity: 1; position: relative;}
<div id="kard">

</div>
</br>
<div id="hint"></div>
</br>
<div id="kard">

</div>

<script type="text/x-mathjax-config">
MathJax.Hub.processSectionDelay = 0;
MathJax.Hub.Config({
  messageStyle: 'none',
  showProcessingMessages: true,
  tex2jax: {
    inlineMath: [['$', '$']],
    displayMath: [['$$', '$$']],
    processEscapes: true
  }
});
</script>
<script type="text/javascript">
(function() {
  if (window.MathJax != null) {
    var card = document.querySelector('.card');
    MathJax.Hub.Queue(['Typeset', MathJax.Hub, card]);
    return;
  }
  var script = document.createElement('script');
  script.type = 'text/javascript';
  script.src = 'https://cdnjs.cloudflare.com/ajax/libs/mathjax/2.7.1/MathJax.js?config=TeX-MML-AM_SVG';
  document.body.appendChild(script);
})();
</script>
Short Demo
Share your own tips!
Thank you for reading so far! I'm always looking for ways to optimize my study workflow, so please share what tools or tricks you use to make studying better. Or share with us your thoughts this vim + anki + mathjax workflow.


